Hello all…….
Today I am going to show you how to create a custom progressbar in android.
Previously in another posts I have already shown how to build a custom indeterminate progressbar in android.
And in this post I will show you how to customize the horizontal progressbar.
OK Now we will start.
First create a fresh project and name in “CustomProgressBarDemo_01” and name the Activity “CustomProgressBarDemo”.
Now copy this code to the the “CustomProgressBarDemo.java” file.
package com.coderzheaven.pack;import android.app.Activity;import android.os.Bundle;import android.os.Handler;import android.os.Message;import android.widget.ProgressBar;public class CustomProgressBarDemo extends Activity { int myProgress = 0; ProgressBar pb; @Override public void onCreate(Bundle savedInstanceState) { super.onCreate(savedInstanceState); setContentView(R.layout.main); pb = (ProgressBar)findViewById(R.id.player_exp_bar); pb.setProgressDrawable(getResources().getDrawable(R.drawable.green_progress)); new Thread(myThread).start(); } private Runnable myThread = new Runnable(){ @Override public void run() { while (myProgress<100){ try{ pb.setProgress(myProgress); myHandle.sendMessage(myHandle.obtainMessage()); Thread.sleep(500); } catch(Throwable t){ } } } Handler myHandle = new Handler(){ @Override public void handleMessage(Message msg) { myProgress++; pb.setProgress(myProgress); } }; };} |
After pasting it you may get some errors but don’t worry in the coming lines we will remove all that.
Now the layout file “main.xml” which contains the progressbar.
<?xml version="1.0" encoding="utf-8"?><LinearLayout xmlns:android="http://schemas.android.com/apk/res/android" android:orientation="vertical" android:layout_width="fill_parent" android:layout_height="fill_parent" ><TextView android:layout_width="fill_parent" android:layout_height="wrap_content" android:text="Custom ProgressBar Demo from CoderzHeaven" android:textStyle="bold" android:layout_margin="10dp" /> <ProgressBar android:id="@+id/player_exp_bar" android:layout_width="fill_parent" android:layout_height="wrap_content" android:max="100" android:progress="0" style="?android:attr/progressBarStyleHorizontal" android:maxHeight="5dip" android:minHeight="5dip" /> </LinearLayout> |
There may be more errors. Leave it and continue.
Now go to your drawable folder inside the “res” folder and create an xml named “green_progress.xml”.
Copy this code into it.
<?xml version="1.0" encoding="utf-8"?><layer-list xmlns:android="http://schemas.android.com/apk/res/android"><item android:id="@android:id/background"> <shape> <corners android:radius="5dip" /> <gradient android:startColor="#ff9d9e9d" android:centerColor="#ff5a5d5a" android:centerY="0.75" android:endColor="#ff747674" android:angle="270" /> </shape></item><item android:id="@android:id/secondaryProgress"> <clip> <shape> <corners android:radius="5dip" /> <gradient android:startColor="#80ffd300" android:centerColor="#80ffb600" android:centerY="0.75" android:endColor="#a0ffcb00" android:angle="270" /> </shape> </clip></item><item android:id="@android:id/progress"> <clip> <shape> <corners android:radius="5dip" /> <gradient android:startColor="@color/greenStart" android:centerColor="@color/greenMid" android:centerY="0.75" android:endColor="@color/greenEnd" android:angle="270" /> </shape> </clip></item></layer-list> |
OK Now open the strings.xml inside the values folder and copy these code into it.
<?xml version="1.0" encoding="utf-8"?><resources> <string name="hello">Hello World, CustomProgressBarDemo!</string> <string name="app_name">CustomProgressBarDemo</string> <color name="greenStart">#ff33dd44</color> <color name="greenMid">#ff0A8815</color> <color name="greenEnd">#ff1da130</color></resources> |
Ok now I think your errors are cleaned.
It’s time to run the project.
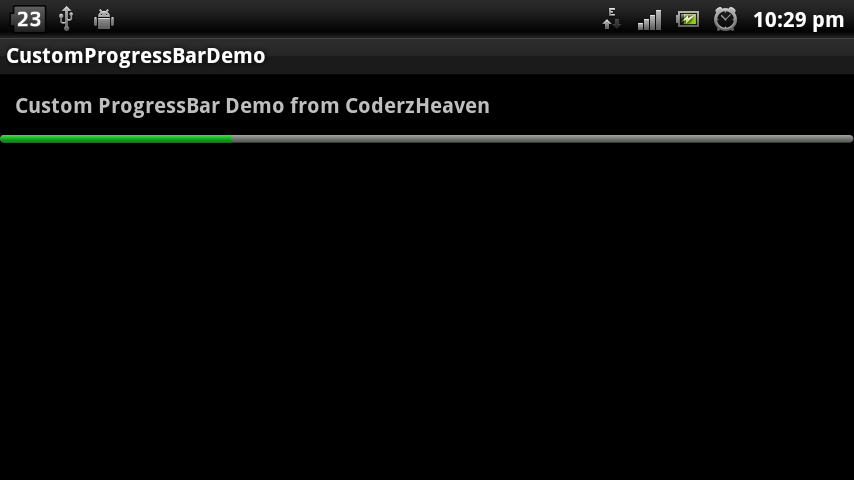
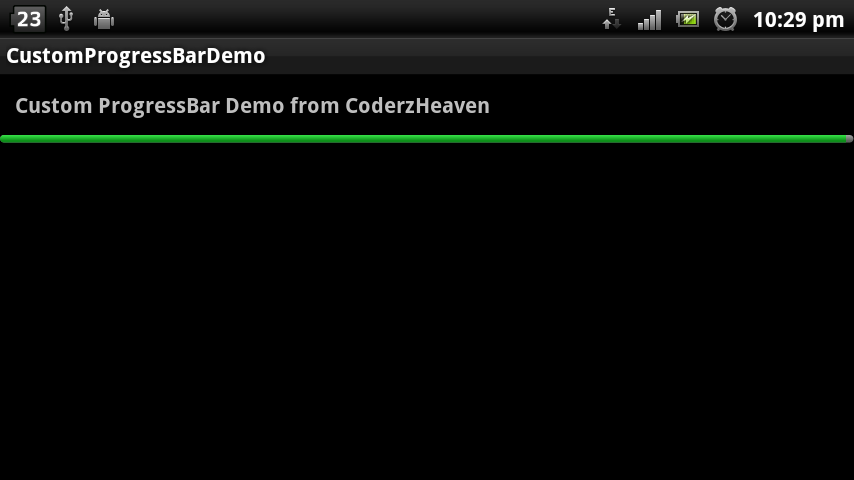
You will see this screen.
I have simulated this progressbar to run to end.


Please share your comments and likes on this post.
Download the complete source code from here.