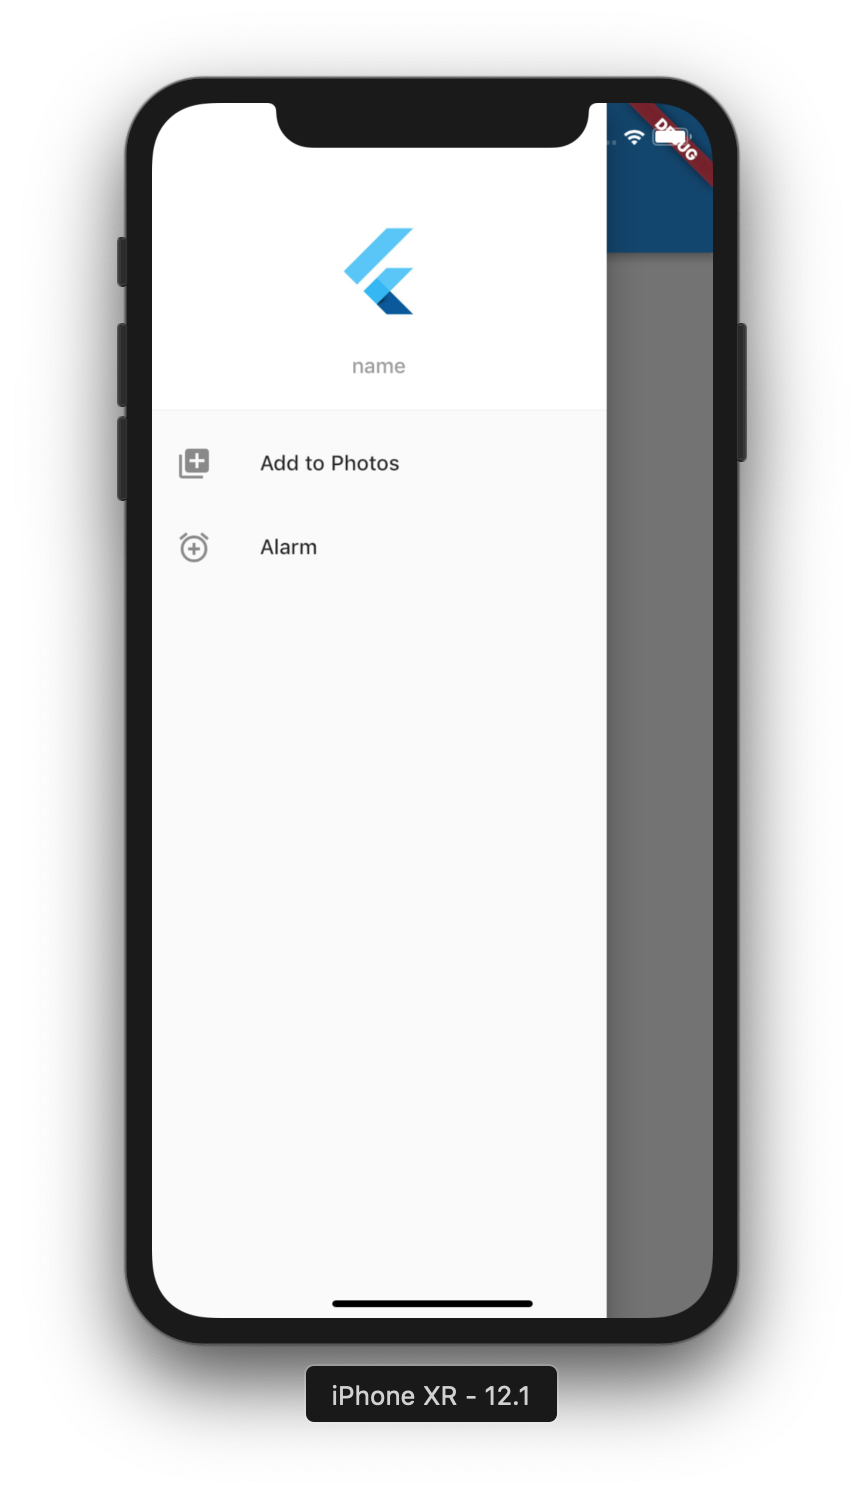
Today we will see how we can implement a Navigation Drawer in Flutter.
In Flutter, its easy, so Lets start…

Navigation Drawer Flutter
Watch Video Tutorial
Navigation Drawer can be added as part of the Scaffold Widget. The Scaffold widget has a ‘drawer’ property on to which you can
add the drawer. This simple example below demonstrates that.
Here I will be adding some children to the drawer, basically a DrawerHeader, and three List Tiles.
The DrawerHeader can take its own child and you can customize the way you want. In this example I will be adding
an image, a SizedBox(for some spacing) and a Text widget.
Let’s jump into the code.
I believe the code is self explanatory, so I am not going into unnecessary details.
Complete Code
import 'package:flutter/material.dart';class NavigationDrawerDemo extends StatefulWidget { NavigationDrawerDemo() : super(); final String title = "Navigation Drawer Demo"; @override _NavigationDrawerDemoState createState() => _NavigationDrawerDemoState();}class _NavigationDrawerDemoState extends State<NavigationDrawerDemo> { @override Widget build(BuildContext context) { return Scaffold( drawer: Drawer( child: ListView( padding: EdgeInsets.zero, children: <Widget>[ DrawerHeader( child: Column( mainAxisSize: MainAxisSize.min, mainAxisAlignment: MainAxisAlignment.center, children: <Widget>[ Image.asset('images/flutter.jpg', width: 80, height: 80,), SizedBox(height: 15,), Text("name", style: TextStyle(color: Colors.grey),) ], ), decoration: BoxDecoration( color: Colors.white, ), ), ListTile( leading: Icon(Icons.add_to_photos), title: Text('Add to Photos'), onTap: () { Navigator.pop(context); }, ), ListTile( leading: Icon(Icons.add_alarm), title: Text('Alarm'), onTap: () { Navigator.pop(context); }, ), ], ), ), appBar: AppBar( title: Text(widget.title), ), body: Center( child: Column( mainAxisAlignment: MainAxisAlignment.center, children: <Widget>[], ), ), ); }} |
Close the Drawer
To close the drawer call
Navigator.pop(context);
Pingback: Drawer Widget Flutter – dersler.co